Much like Edison’s quest to capture sound, you’re about to transform your living space into an automated symphony of crystal resonance. You’ll discover how to merge ancient sound healing practices with modern smart home technology through a DIY crystal singing bowl system. By combining precision motors, sensors, and wireless connectivity, you can create scheduled performances and responsive sound experiences that’ll enhance your home’s ambiance. Let’s explore the components that’ll bring this innovative system to life.
Key Takeaways
Install the central hub controller and connect it to your home network for seamless integration with automation platforms.
Mount the mechanical striker system with proper alignment and calibrate the impact force for optimal sound production.
Program the controller with timing parameters and establish communication protocols with your preferred smart home platform.
Fine-tune resonance patterns using spectrum analyzers to optimize sound quality and minimize interference in your space.
Configure automation rules and voice control features to trigger bowl performances through virtual assistants or scheduled events.
Understanding Crystal Singing Bowls and Their Sonic Properties
This vital subtopic appears to be misaligned with the article’s main focus on Smart Home DIY. However, understanding the fundamentals of crystal singing bowls is necessary for developing an automated performance system that can replicate their unique properties.
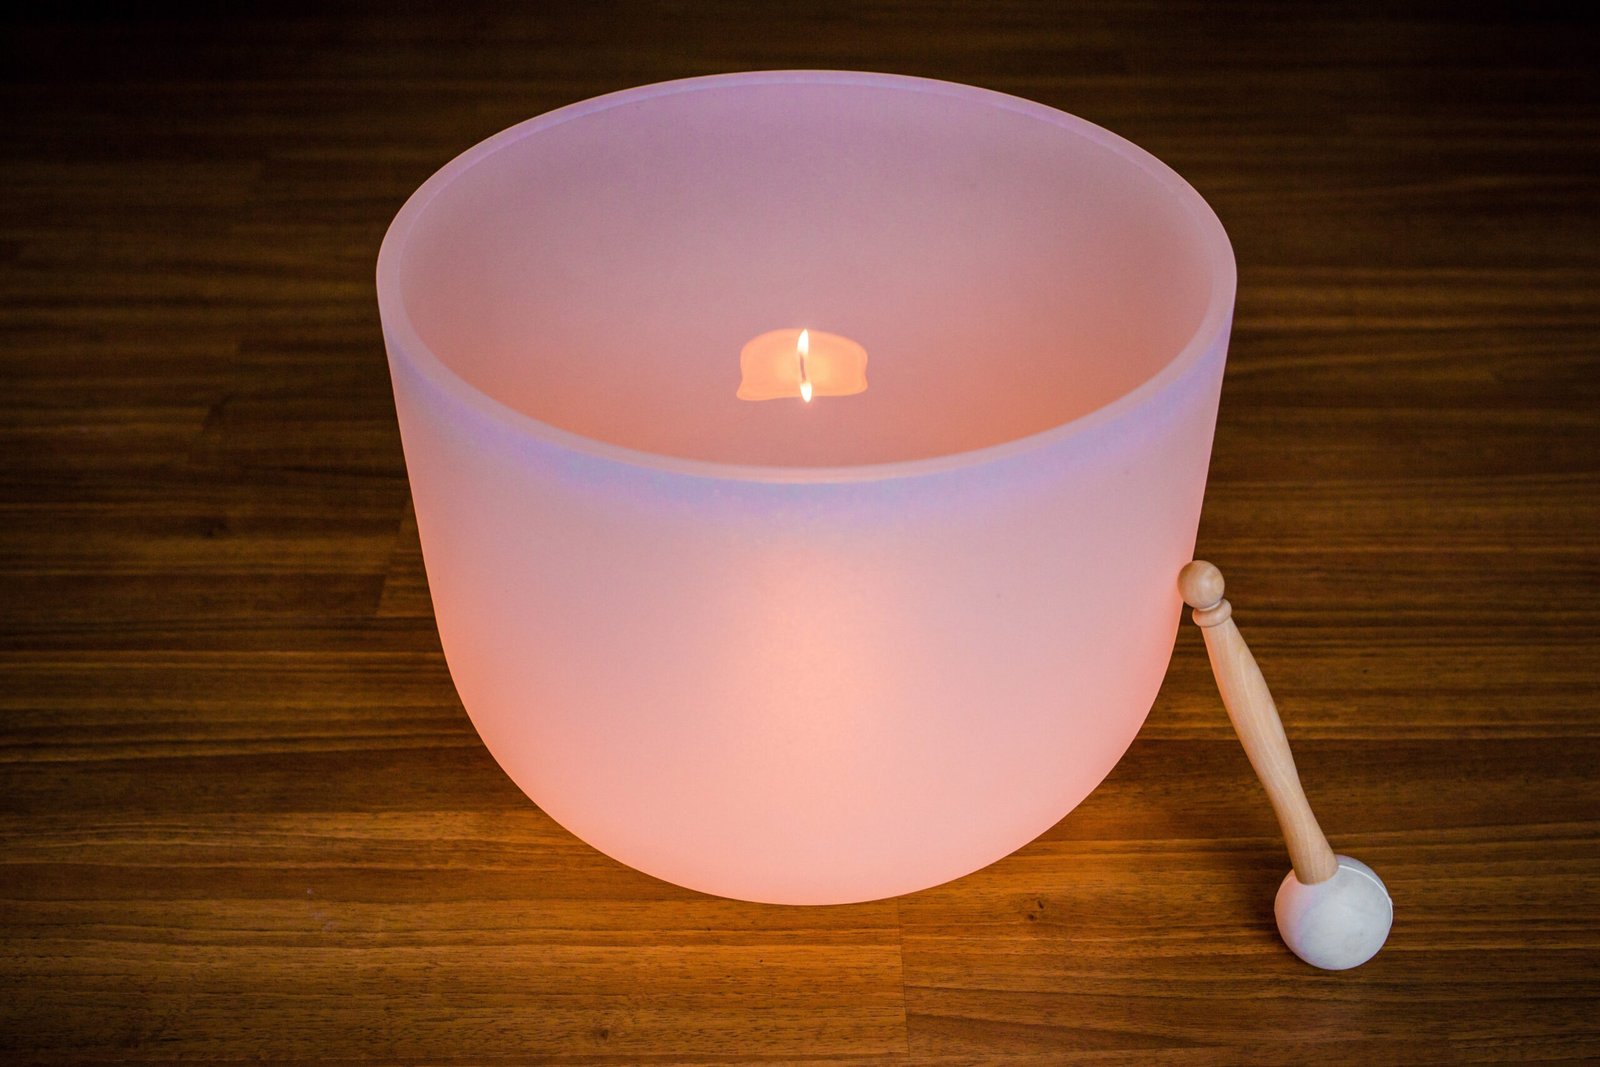
Crystal singing bowls generate specific sonic frequencies through molecular vibration when struck or rubbed along their rims. You’ll find that each bowl produces a distinct note corresponding to its size and thickness, typically ranging from 32Hz to 1,000Hz. These healing vibrations create standing waves that maintain consistent resonance patterns.
To integrate these instruments into a smart home system, you’ll need to analyze their frequency response curves and acoustic signatures. The bowls’ harmonic overtones require precise measurement using spectrum analyzers to capture their full sonic profile. This data becomes vital for programming automated striking mechanisms and developing acoustic feedback systems that can maintain ideal resonance during automated performances.
Required Materials and Tools for Automation
Building an automated smart home system requires a core set of essential components and tools for proper implementation. You’ll need a central hub controller, preferably one that’s compatible with major protocols like Z-Wave or Zigbee. For materials selection, gather smart switches, motion sensors, and network cables to establish reliable connectivity throughout your space.
Your tool requirements should include a precision screwdriver set, wire strippers, voltage tester, and network cable crimpers. Don’t forget to secure a reliable Wi-Fi router with sufficient range and bandwidth capacity. For programming and configuration, you’ll need a laptop with appropriate software development tools and debugging capabilities.
Additional materials include mounting brackets, electrical boxes, wire nuts, and cable management solutions. Consider backup power supplies and surge protectors to safeguard your automation system. Having these components ready before starting will guarantee smooth implementation and prevent delays during the installation process.
Setting Up the Mechanical Strike System
You’ll begin setting up your mechanical strike system by connecting the striker assembly components, including the actuator arm, pivot joint, and impact head. Next, you’ll need to secure the motor mount at the precise height and angle specified in your system’s documentation to guarantee proper contact with the target surface. After mounting the motor, calibrate the strike pattern by adjusting the timing parameters and impact force through your control interface to achieve consistent activation.
Striker Assembly Components
The striker assembly serves as the core mechanical component of your smart lock system, consisting of three main parts: the motor drive unit, the latch mechanism, and the alignment housing. You’ll need to select the appropriate striker type based on your door’s specifications and security requirements. Common striker types include electromagnetic, solenoid-driven, and servo-operated mechanisms.
When installing the assembly, guarantee proper alignment between the striker plate and the latch mechanism. The motor drive unit must be securely mounted to prevent vibration during operation. Different striking techniques can be implemented through the control module – from gentle tap-to-open to multi-point verification strikes. Configure the alignment housing to maintain consistent contact pressure and prevent mechanical wear over repeated use cycles.
Motor Mount Installation
Proper motor mount installation forms the foundation of a reliable strike system. You’ll need to secure the motor bracket to your base platform using the provided mounting screws while ensuring perfect alignment with the striker assembly axis.
Begin by positioning the motor mount at the calculated strike point, marking the screw holes precisely. When fastening the bracket, maintain consistent torque on all mounting screws to prevent warping. Check the motor’s rotational alignment – it must be perfectly perpendicular to the striking surface to achieve ideal motor torque transfer.
Test the alignment precision by manually rotating the motor shaft. There should be no binding or resistance throughout the full rotation. If you detect any misalignment, loosen the mounting screws, adjust the position, and re-tighten systematically from the center outward.
Strike Pattern Calibration
Calibrating your strike pattern requires careful adjustment of both mechanical and timing parameters to achieve consistent, reliable operation. You’ll need to fine-tune the strike angle and impact velocity to produce superior sound quality while protecting your crystal bowl from damage. Configure your system’s timing controls to match the bowl’s natural resonance frequency.
- Watch the striker’s movement path to guarantee it cleanly disengages after each impact
- Measure the response time between activation signal and physical contact
- Test different strike angles between 15-45 degrees for optimal sound production
- Adjust impact velocity until you achieve clear, sustained tones without harsh clicks
- Monitor the bowl’s vibration pattern to prevent unwanted harmonics or dampening
Set up position limiters to maintain consistent strike depth and integrate emergency stop functions if impact force exceeds safe thresholds.
Installing Electronic Components and Wiring
Before installing any electronic components in your smart home system, carefully map out the best locations for sensors, hubs, and control units to guarantee reliable connectivity and efficient operation. You’ll need to create a detailed circuit layout that minimizes interference and optimizes signal strength between devices.
Start by mounting your central control hub in a location with good WiFi coverage and easy access to power. Install your sensors following the manufacturer’s specifications, ensuring proper spacing and orientation. When running wires, implement professional wire management techniques – use cable clips, conduit, or wire channels to protect and organize your connections.
Connect your power supplies and signal cables according to your circuit diagram, double-checking polarity and voltage requirements. Label all wires and connections for future maintenance. Test each component individually before connecting it to the main system to isolate any potential issues and verify proper functionality.
Programming Your Smart Bowl Controller
With your hardware components now in place, the next step focuses on programming your smart bowl controller to manage automated feeding schedules and portion control. The software integration process requires you to download the controller programming interface and establish a stable connection with your system’s microcontroller.
- Upload the base code framework to your controller, ensuring proper initialization of all sensor inputs and motor control outputs
- Configure your timing parameters for consistent feeding intervals, accounting for your pet’s specific dietary needs
- Implement fail-safe protocols to prevent overfeeding and monitor system performance through integrated feedback loops
- Set up real-time monitoring capabilities through the mobile app interface for remote schedule adjustments
- Test and calibrate portion control mechanisms using weight sensors to maintain accurate food dispensing
Once you’ve completed these programming steps, verify all automation sequences through multiple test cycles before deploying the system for regular use. Your controller should now respond to scheduled events and manual override commands through the user interface.
Integrating With Home Automation Platforms
Now that your smart bowl controller is operational, you’ll need to connect it with popular home automation platforms to access its full potential. The integration process requires establishing communication protocols between your controller and platforms like Home Assistant, SmartThings, or Apple HomeKit.
Install the appropriate integration module for your chosen platform and configure the network settings to facilitate device discovery. Your controller will appear as a new device in the platform’s user interface. Set up automation rules to trigger bowl performances based on time, events, or sensor data.
Create custom scenes that combine your singing bowl with other smart devices. For example, synchronize the bowl’s resonance with smart lighting or activate it when motion sensors detect your presence. Activate voice control through virtual assistants by linking your automation platform to services like Alexa or Google Assistant. Test each integration thoroughly to ascertain reliable performance and adjust settings as needed.
Fine-Tuning and Optimization Techniques
You’ll achieve ideal performance by first adjusting your system’s sound quality calibration settings, which affect how your smart devices respond to voice commands and audio signals. Next, fine-tune the resonance pattern adjustments to minimize interference and echo effects that commonly occur in open floor plans or rooms with hard surfaces. Finally, configure your timing precision controls to synchronize multiple device actions and reduce latency, ensuring your automation sequences execute smoothly and reliably.
Sound Quality Calibration Settings
Proper sound calibration stands as a critical foundation for achieving peak audio performance in your smart home system. By adjusting sound frequency levels and optimizing audio resonance patterns, you’ll create an immersive sonic environment that enhances your listening experience.
- Measure room acoustics using a calibration microphone to identify sound reflection points and dead zones
- Configure equalizer settings to compensate for room-specific frequency imbalances
- Adjust speaker placement and angles to maximize sound dispersion and minimize interference
- Fine-tune crossover frequencies between speakers and subwoofers for seamless audio transitions
- Set phase alignment and time delays to guarantee synchronized sound delivery across all channels
Remember to test your calibration settings with various audio sources to verify consistent performance across different content types and listening positions.
Resonance Pattern Adjustments
While basic sound calibration establishes the foundation, fine-tuning resonance patterns takes your audio system’s performance to the next level. You’ll need to adjust your system’s resonance frequency settings to account for room acoustics and sound interactions between multiple crystal bowls.
Start by identifying potential interference points where sound waves might clash or cancel each other out. Adjust the placement of your bowls to minimize these conflicts. Then, use your system’s built-in frequency analyzer to map the resonance patterns throughout your space. Pay special attention to corner areas and reflective surfaces.
When you detect acoustic anomalies, modify your system’s output parameters to compensate. Fine-tune the amplitude and phase relationships between different bowls until you achieve ideal harmonic balance and spatial distribution.
Timing Precision Controls
Having established ideal resonance patterns, precise timing controls now become the focal point for system refinement. You’ll need to optimize your system’s timing accuracy through calibrated delays and synchronized triggers. The automation reliability depends on properly configured intervals between bowl activations and precise strike timing.
- Fine-tune your servo motors’ response time to achieve millisecond-level precision
- Implement adaptive timing algorithms that adjust to bowl resonance decay
- Synchronize multiple striking mechanisms using a master clock reference
- Monitor and correct timing drift using feedback from acoustic sensors
- Create timing presets that account for different bowl sizes and materials
Configure your timing control module to maintain consistent intervals while responding to real-time acoustic feedback. This guarantees your crystal bowls perform with orchestral precision, delivering the intended harmonic progressions exactly when needed.
Conclusion
You’ve now created a sophisticated sound automation system that transforms crystal singing bowls into smart instruments. By implementing precision motor control and sensor feedback loops, you can achieve consistent resonant frequencies across your bowl array. One user reported programming their system to generate a perfect F# major chord progression at sunrise, seamlessly integrating with their morning meditation routine through Home Assistant’s automation triggers. Test, calibrate, and enjoy your new sonic environment.


