Sound waves create measurable changes in children’s neural pathways during interactive play, particularly in the 3-7 age range when auditory processing centers are rapidly developing. You’ll find that structured sound exploration activities strengthen parent-child attachment while simultaneously enhancing your child’s cognitive development and sensory integration. Through specifically designed acoustic experiments, you can access these neurological benefits using common household items to create engaging therapeutic soundscapes that support enhanced childhood development.
Key Takeaways
Musical Water Glass Symphony teaches pitch recognition through filling glasses with different water levels and creating simple melodies together.
Create a DIY rain stick with tubes, pebbles, and decorative materials to explore sound patterns and develop fine motor skills.
Use rubber bands stretched across a shoebox to demonstrate visible sound wave vibrations and experiment with different tension levels.
Play “Sound Walking” games where children match footsteps to varying rhythms, enhancing coordination and auditory processing skills.
Set up sound scavenger hunts using natural sounds like rustling leaves to develop listening skills and acoustic awareness.
The Science Behind Sound Waves: A Kid-Friendly Explanation
Sound waves, tiny vibrations that travel through the air, form the foundation of how we hear and process audio information in our environment. When objects vibrate, they create these invisible waves that move outward in all directions, similar to ripples in a pond. Your ears detect these vibrations, transforming them into electrical signals that your brain interprets as sound.
Sound properties include frequency (pitch), amplitude (volume), and timbre (unique quality). You’ll find various sound sources in daily life: musical instruments, voices, nature, and machines. Each source produces its own distinctive pattern of vibrations, creating unique wavelengths and frequencies that contribute to the rich tapestry of auditory experiences.
Understanding these basic principles helps you recognize how sound behaves: it bounces off surfaces (reflection), travels through materials (transmission), and can be absorbed or dampened. This knowledge forms the basis for exploring sound therapy activities with children.
Creating Your DIY Sound Therapy Kit at Home
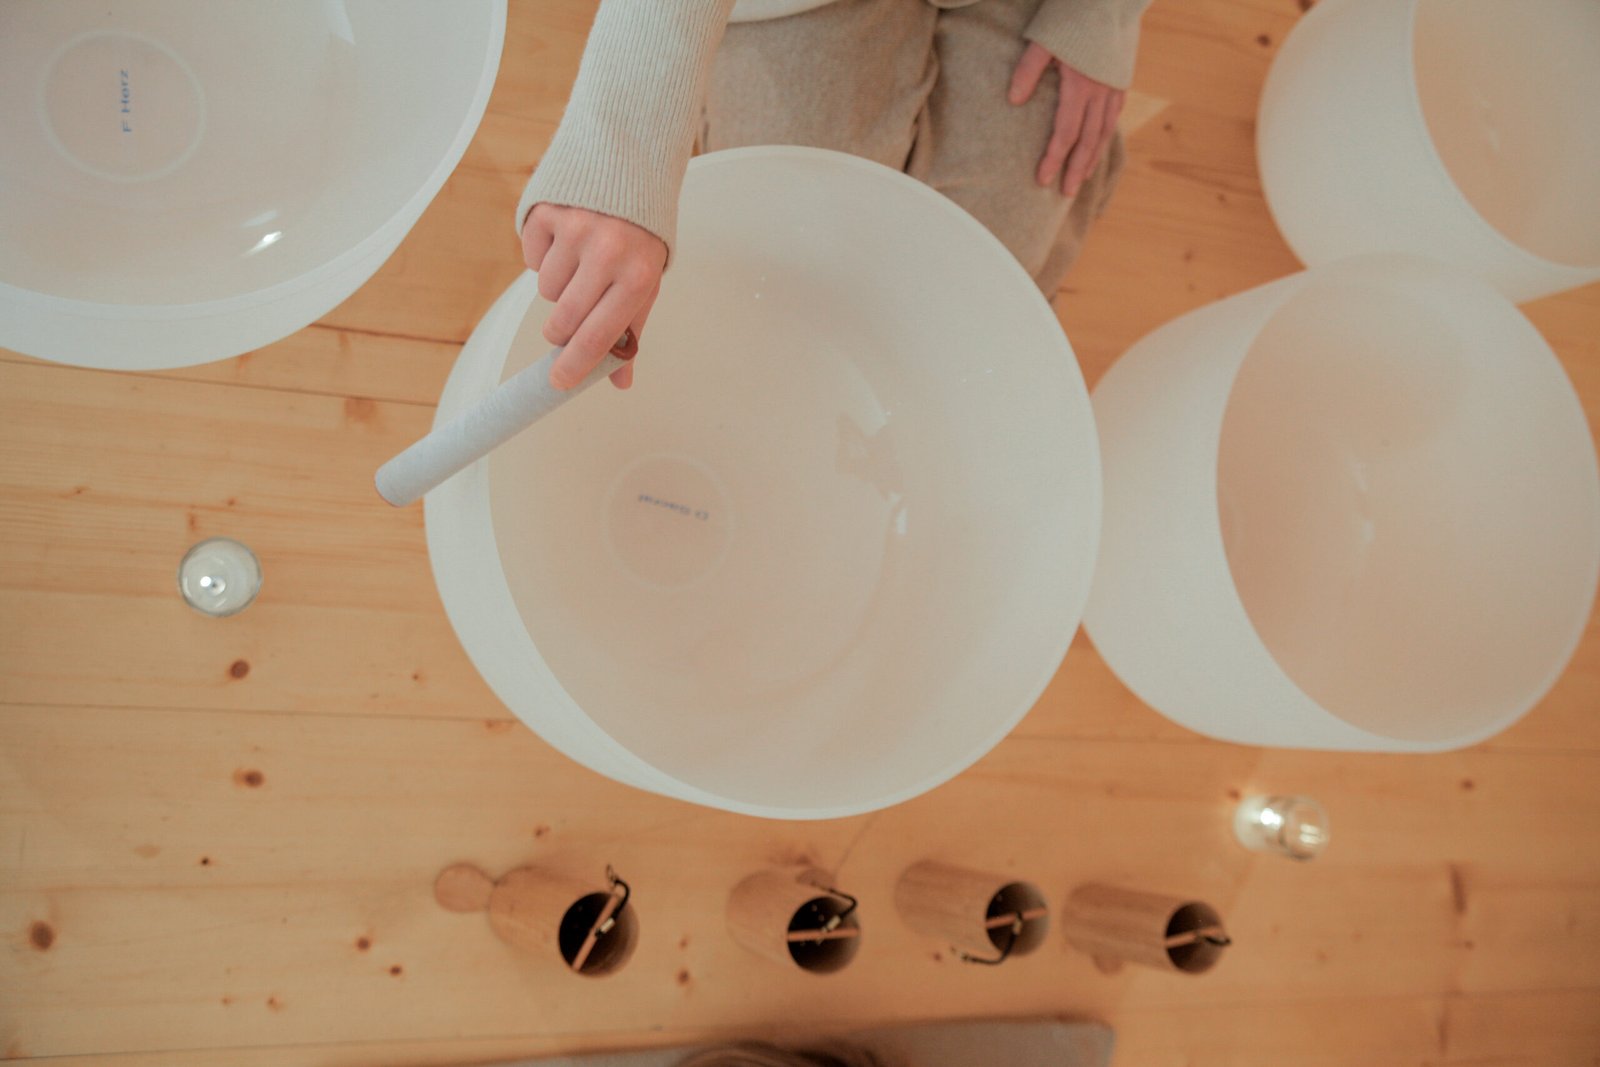
You’ll find that assembling your DIY sound therapy kit requires specific tools including tuning forks, singing bowls, and percussion instruments that produce varied frequencies and vibrations. Creating your own sound therapy items involves repurposing household materials such as metal containers, wooden blocks, and glass jars filled with different materials to generate distinct acoustic patterns. These evidence-based tools can be calibrated to produce specific frequencies between 20-20,000 Hz, which research indicates are most effective for therapeutic applications in children’s sensory processing.
Essential Sound Tools Needed
Creating an extensive DIY sound therapy kit requires specific acoustic instruments and materials that produce distinct auditory frequencies and tonal variations. You’ll need tools that target different sound physiology responses while maintaining precise audio frequencies for therapeutic benefits.
| Tool Category | Therapeutic Purpose |
|---|---|
| Percussion | Rhythm regulation, auditory processing |
| Strings | Frequency discrimination, pitch awareness |
| Wind | Breath control, tonal recognition |
Select instruments that provide clear, consistent tones and can withstand regular handling by children. Essential items include tuning forks (256-512 Hz), handheld drums, resonance tubes, and metal chimes. Include sound-dampening materials like foam blocks and felt pads to control acoustic intensity. For recording and playback, acquire a quality digital recorder with adjustable frequency settings to monitor progress and maintain therapeutic consistency.
Making Sound Therapy Items
Building your own sound therapy tools at home offers a cost-effective approach to implementing acoustic interventions. You’ll need basic materials like empty containers, dried beans, rice, and small bells to create percussion instruments that facilitate sound wave exploration. Select varying sizes of plastic bottles and fill them with different materials to produce distinct acoustic frequencies.
For auditory experimentation, construct simple wind instruments using PVC pipes cut to specific lengths, which demonstrate pitch variations. Create texture boards with materials like sandpaper, bubble wrap, and corrugated cardboard to explore sound friction. Design resonance chambers using wooden boxes and metal springs to demonstrate vibration patterns. Confirm all materials are securely sealed and child-safe, with rounded edges and non-toxic components.
Musical Water Glass Symphony
To assemble your water glass symphony, you’ll need 6-8 identical clear drinking glasses, food coloring (optional), a metal spoon, and filtered water at room temperature. Create distinct musical pitches by filling each glass with progressively different water levels, ranging from nearly empty to almost full, ensuring approximately 1/4 inch difference between each glass. Test the pitch of each glass by gently striking its rim with your metal spoon, adjusting the water levels until you achieve a clear scale progression from low to high notes.
Supplies You’ll Need
You’ll need eight identical drinking glasses, water, a metal spoon, food coloring (optional), and a measuring cup for this therapeutic sound activity. Clear glass vessels are ideal for visual observation of water displacement during auditory exploration. Select glasses with uniform thickness and material composition to guarantee consistent sound wave production.
For enhanced sound equipment setup, verify your glasses are clean, dry, and free from chips or cracks that could affect acoustic properties. The metal spoon should be solid stainless steel, approximately 6-8 inches in length, as lighter utensils won’t produce sufficient vibration. If incorporating food coloring for visual differentiation, choose primary colors that allow precise measurement observation. Your measuring cup should have clear markings in both milliliters and ounces for accurate water displacement ratios.
Glass Pitch Exploration Steps
Once your supplies are properly arranged, begin the pitch exploration process by systematically filling each glass with varying water levels to create distinct musical tones. During frequency testing, you’ll discover that higher water levels produce lower glass notes, while less water generates higher pitches. This acoustic phenomenon demonstrates fundamental principles of sound wave behavior to children.
- Test each glass by gently striking its rim with a metal spoon, adjusting water levels until you achieve your desired musical scale
- Record the precise water measurements for each note, enabling consistent pitch reproduction
- Position glasses sequentially from lowest to highest frequency, creating a properly calibrated musical instrument array
Guide your child to explore these sound relationships through structured experimentation, fostering both scientific understanding and musical development simultaneously.
Vibrating Rubber Band Sound Station
A vibrating rubber band sound station serves as an effective acoustic-kinesthetic learning tool for children to explore fundamental principles of sound wave production and frequency manipulation. You’ll need to secure multiple rubber bands of varying thicknesses across a sturdy shoebox, creating an improvised string instrument that demonstrates longitudinal wave properties.
Position the rubber bands parallel to each other, ensuring sufficient spacing for independent vibration. Guide your child to pluck each band while observing the visible oscillations and resulting sound waves. Encourage experimentation with different tension levels by adjusting the bands’ tightness, demonstrating how increased tension produces higher frequencies.
To enhance the learning experience, incorporate measurement tools such as a smartphone frequency analyzer app. This allows children to visualize the relationship between rubber band thickness, tension, and the produced frequencies, reinforcing scientific concepts through hands-on discovery and technological integration.
Homemade Rain Stick Adventures
Creating a homemade rain stick introduces children to acoustic principles while engaging their tactile-auditory processing pathways through experiential learning. When you guide your child through this sound exploration activity, you’ll demonstrate how small objects falling through confined spaces generate variable acoustic patterns. The therapeutic benefits emerge as children develop auditory discrimination skills and sound awareness through hands-on experimentation.
- Transform a cardboard tube into a rain stick by securing one end, adding small pebbles or dried rice, and sealing the other end, then decorating the exterior with sensory-rich materials
- Position metal pins or small nails in a spiral pattern through the tube’s walls to create varied sound paths and unique acoustic patterns
- Encourage your child to tilt the rain stick at different angles, observing how speed and position affect sound intensity and duration
This sound exploration tool helps children understand cause-and-effect relationships while developing fine motor skills through creative manipulation of the instrument.
Echo Location Games and Activities
You’ll discover how sound waves travel and reflect through solid surfaces by implementing structured sound mapping exercises through walls and barriers. Through guided echolocation activities, children learn to identify sound sources and their spatial relationships by producing short, sharp sounds and analyzing their echoes. These call-and-response exercises enhance auditory processing skills while teaching fundamental acoustic principles in an engaging, experiential format.
Sound Mapping Through Walls
Through specialized echo location activities, children can develop enhanced spatial awareness and auditory processing skills by learning to map sound trajectories through physical barriers. When sound waves encounter walls, they create measurable sound reflection patterns and wall vibrations that children can detect and interpret. This scientific process helps them understand acoustic principles while improving their spatial cognition.
- Position your child on one side of a wall while you tap different locations, allowing them to map the sound’s origin point through careful listening
- Use varying materials (wood, drywall, concrete) to demonstrate how different surfaces affect sound transmission
- Create a game where children identify objects being dropped or moved in adjacent rooms by interpreting the acoustic signatures
These exercises strengthen auditory discrimination and help children develop an intuitive understanding of sound wave behavior.
Echolocation Call and Response
Building upon sound mapping principles, echolocation call and response games provide children with dynamic acoustic feedback training. Through guided exercises, your child learns to emit vocal signals and interpret the returning echoes to understand spatial relationships.
Start by teaching your child to produce distinct sound patterns – clicks, whistles, or short vocal calls. Position yourself at varying distances and have them determine your location based on the echo’s timing and intensity. As they progress, introduce obstacles and reflective surfaces to create more complex echo patterns.
You’ll notice improvements in their spatial awareness as they learn to distinguish between direct sounds and their reflections. This auditory training enhances your child’s ability to process environmental sounds and develops their understanding of sound wave behavior in different spaces.
Sound Wave Art and Visual Learning
While sound waves exist as invisible vibrations in the air, transforming them into visual art creates powerful learning opportunities for children with auditory processing challenges. Through sound wave art activities, you’ll help your child develop stronger neural connections between auditory and visual processing centers in the brain.
You can facilitate visual learning through sound waves using these evidence-based techniques:
- Place rice or sand on a drum surface and observe the patterns formed when making different sounds, demonstrating frequency visualization
- Create digital spectrograms using smartphone apps, allowing your child to see their voice’s unique wavelength patterns
- Use paint and paper on a speaker to generate cymatics art, showing how different frequencies create distinct geometric shapes
These multimodal exercises strengthen cross-sensory integration and help children better comprehend acoustic phenomena. Research indicates that visualizing sound waves improves phonological awareness and auditory discrimination skills, particularly beneficial for children with sensory processing differences.
Sound Scavenger Hunt in Nature
After mastering indoor sound visualization techniques, taking auditory learning outdoors offers children a rich, multisensory environment for acoustic exploration. You’ll need to prepare a list of nature sounds for your child to identify, such as rustling leaves, flowing water, bird calls, and insect buzzing.
Create scavenger clues that direct your child’s attention to specific acoustic elements in the environment. For instance, “Find something that makes a crunching sound when you step on it” or “Locate three different bird songs.” This targeted approach helps develop discriminative listening skills and auditory processing abilities.
Document your findings using a mobile recording device, allowing for later analysis and comparison. Studies indicate that nature-based sound activities enhance children’s acoustic memory and pattern recognition capabilities. You can gradually increase complexity by introducing concepts like sound reflection off different surfaces and the impact of weather conditions on outdoor acoustics.
Rhythm and Movement Sound Games
Rhythm and movement games provide essential neurodevelopmental benefits by integrating auditory processing with motor coordination. When you engage your child in structured movement activities synchronized to rhythmic patterns, you’re activating multiple sensory pathways that enhance neural plasticity and auditory discrimination skills.
These evidence-based rhythm games stimulate vestibular processing while reinforcing temporal awareness through structured sound-motion partnerships:
* “Sound Walking” – Guide your child to match footsteps with varying tempo patterns, shifting between slow, medium, and fast rhythmic sequences
** “Body Percussion Patterns” – Create sequential combinations using claps, stamps, and pats, encouraging your child to replicate and maintain steady rhythmic accuracy
**”Musical Freeze Dance” – Incorporate sudden stops in movement when music pauses, developing inhibitory control and auditory attention span
These movement activities strengthen bilateral coordination while establishing foundational skills for future musical development and enhanced cognitive processing.
Building Simple Musical Instruments Together
Creating homemade musical instruments extends the therapeutic benefits of sound play into tactile and constructive domains. You’ll facilitate musical bonding through collaborative construction while engaging your child’s sensorimotor development. Start with simple percussion instruments using household materials: rice shakers, cardboard box drums, or rubber band guitars.
Guide your child through instrument exploration by demonstrating how different materials produce distinct sound waves. Experiment with varying container sizes, filling materials, and striking surfaces to analyze acoustic properties. For example, plastic containers filled with dried beans generate different frequencies than those filled with rice, providing opportunities to discuss pitch and resonance.
Document your child’s acoustic discoveries in a sound journal, noting their observations about timbre and volume. This documentation helps track their auditory discrimination development while reinforcing scientific concepts through hands-on experimentation. Incorporate mathematical elements by measuring materials and counting rhythm patterns during play.
Conclusion
Through these scientific sound experiments, you’ve transformed ordinary household items into acoustic learning tools, demonstrating fundamental principles of wave mechanics to your child. The vibrating molecules that create these sound waves mirror the strengthening bonds between parent and child during exploration. You’re now equipped with evidence-based methods to enhance your child’s auditory processing, fine motor skills, and cognitive development through controlled acoustic stimulation.


